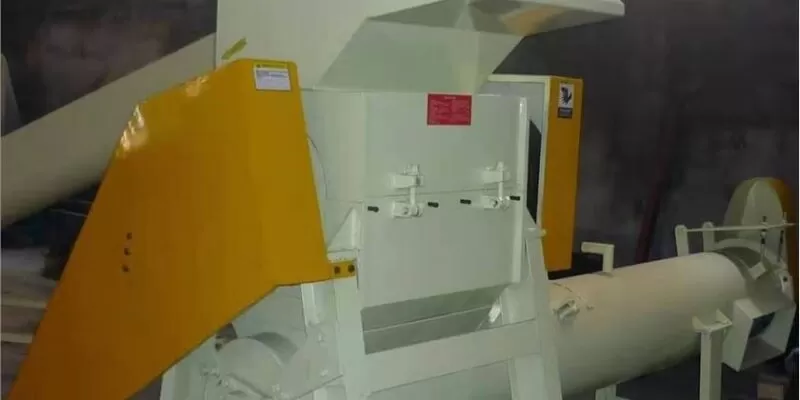
As the CEO of Amige, with years of experience in the plastic machinery industry, I understand the importance of proper maintenance for maximizing the lifespan and efficiency of your equipment. Today, I’m here to share some expert tips on how to effectively clean a plastic grinder.

Plastic grinders play a crucial role in recycling and processing plastic materials, but without regular cleaning, they can become inefficient and prone to breakdowns. Keeping your plastic grinder clean not only ensures optimal performance but also helps maintain product quality and reduces the risk of contamination.
Maintaining a clean plastic grinder is essential not only for hygiene but also for prolonging its lifespan. Over time, residue and contaminants can build up inside the grinder, leading to decreased efficiency and potential damage to the equipment. By following these simple steps, you can ensure that your plastic grinder remains in top condition for years to come.
Step 1: Safety First
Before starting the cleaning process, it’s crucial to prioritize safety. Ensure that the grinder is unplugged and completely powered off before attempting any maintenance or cleaning tasks. Additionally, wear appropriate personal protective equipment, such as gloves and safety goggles, to protect yourself from any potential hazards.
Step 2: Disassembly
Begin by carefully disassembling the plastic grinder according to the manufacturer‘s instructions. This typically involves removing the hopper, cutting blades, and any other removable parts. Take care to note the order and orientation of each component to facilitate reassembly later on.
Step 3: Thorough Cleaning
Once disassembled, thoroughly clean each component of the plastic grinder using a mild detergent and warm water. Pay special attention to areas where residue and debris tend to accumulate, such as the cutting blades and grinding chamber. For stubborn buildup, consider using a specialized cleaning solution or solvent recommended by the manufacturer.
Step 4: Drying and Reassembly
After cleaning, ensure that all components are thoroughly dried before reassembly. Use a clean, dry cloth to remove any excess moisture and allow the parts to air dry completely. Once dry, carefully reassemble the plastic grinder in the reverse order of disassembly, taking care to tighten any screws or fasteners securely.
Step 5: Lubrication and Maintenance
As part of the reassembly process, consider lubricating moving parts and components to ensure smooth operation. Use a food-grade lubricant recommended by the manufacturer to prevent corrosion and maintain optimal performance. Additionally, perform regular maintenance checks to identify any potential issues early on and address them promptly.
Step 6: Regular Inspections
To prevent future buildup and maintain cleanliness, establish a regular cleaning and inspection schedule for your plastic grinder. Routinely check for signs of wear and damage, such as dull blades or loose components, and address any issues promptly to prevent further damage.
Conclusion
Keeping your plastic grinder clean is essential for ensuring optimal performance and prolonging its lifespan. By following these expert tips and incorporating regular maintenance into your routine, you can keep your plastic grinder in top condition for years of reliable service. Remember, a clean grinder is a happy grinder!
